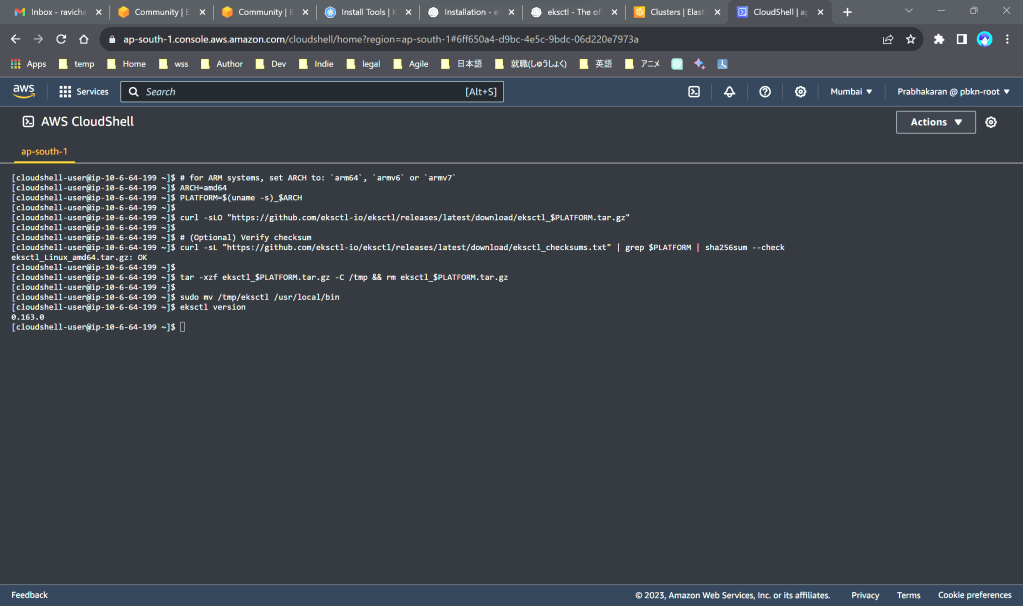
Step 1
Open AWS Cloudshell and install eksctl (amd64)
Copy commands from https://eksctl.io/installation/#for-unix
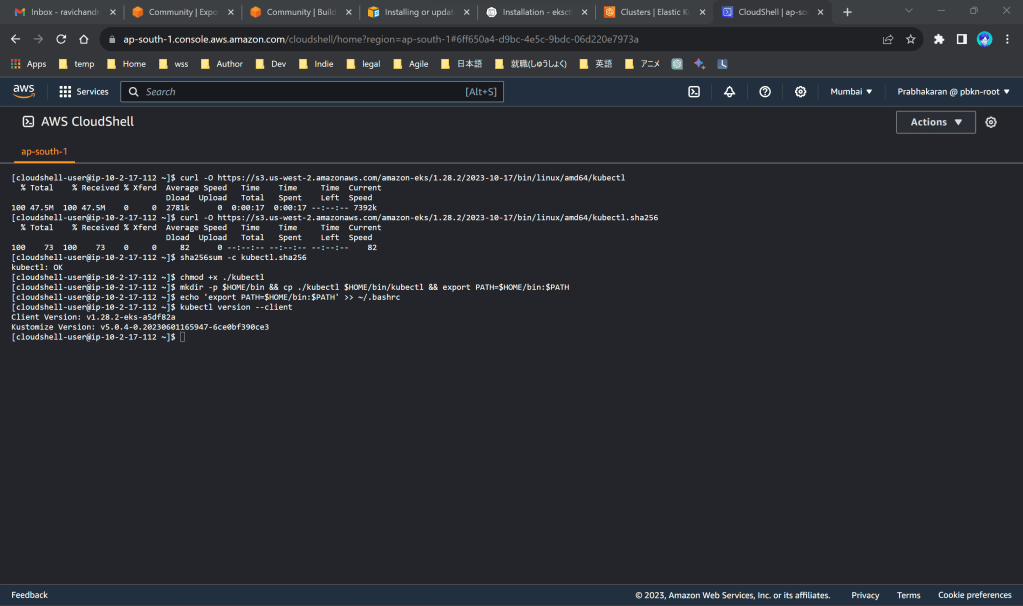
Step 2
install kubectl v1.28 (amd64)
Copy commands from https://docs.aws.amazon.com/eks/latest/userguide/install-kubectl.html
Step 3
Copy the contents of cluster-config.yaml (change region to your desired region value eg: us-east-1) and put it on your cloudshell using commands below:
nano cluster-config.yamlCtrl+vCtrl+xpress ‘y’press ‘enter’cat cluster-config.yaml
Step 4
Install EKS Cluster using commands:
eksctl create cluster -f cluster-config.yamlIt’ll take 20 mins approx. to complete (Do not close the tab or idle out the screen – otherwise you need to redo it from the start and have to delete all components created manually)
aws eks update-kubeconfig --region ap-south-1 --name managednodes-quickstart(change region to your desired region value eg: us-east-1)

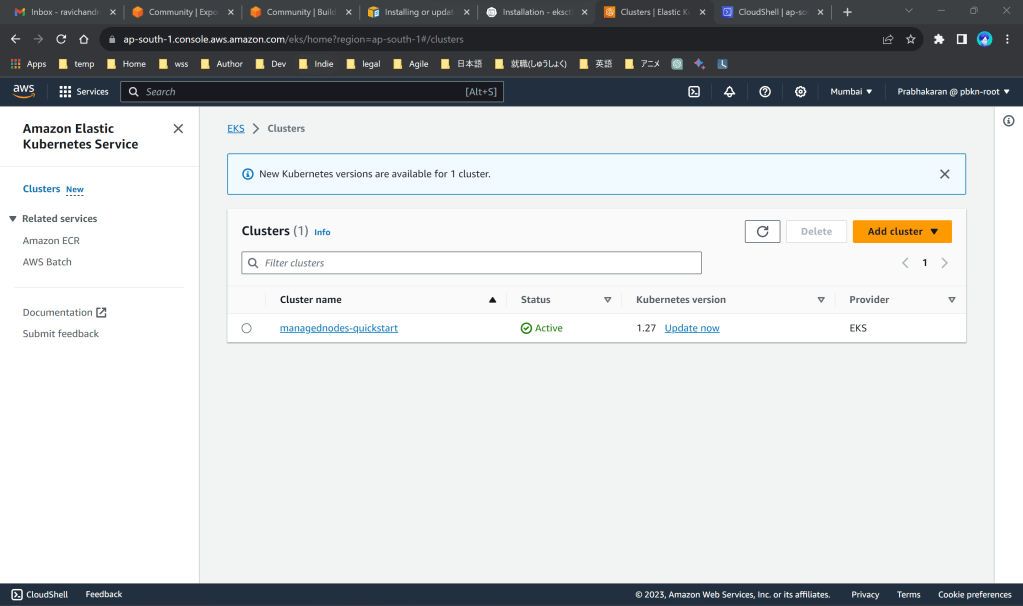
Step 5
Open your EKS console in a new tab (do not close the cloudshell console) and check whether a Cluster is created
Step 6
Use the below commands in cloudshell to check health of your cluster.
kubectl get nodeskubectl get deployment ebs-csi-controller -n kube-systemkubectl get sa -A | egrep "cert-manager|efs|aws-load|external|cloudwatch-agent|cluster-autoscaler"
Step 7
Install Helm & openssl
sudo yum install openssl
curl https://raw.githubusercontent.com/helm/helm/master/scripts/get-helm-3 > get_helm.shchmod 700 get_helm.sh./get_helm.shhelm version | cut -d + -f 1
Step 8
Config your current k8s cluster using below command
kubectl config current-context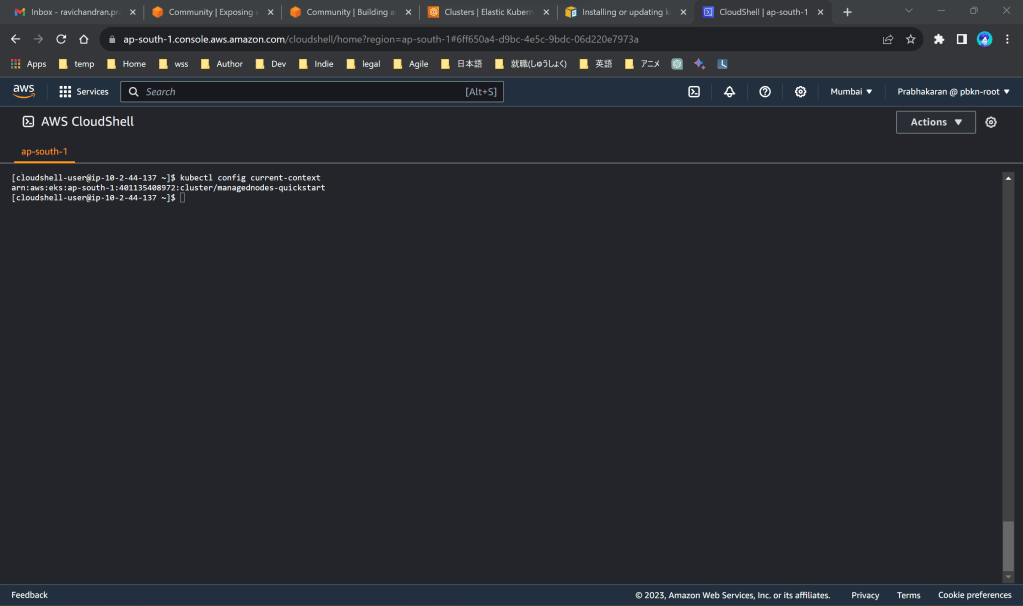
Step 9
Define Environmental variables using below commands (change region value accordingly)
export CLUSTER_NAME=$(aws eks describe-cluster --region ap-south-1 --name managednodes-quickstart --query "cluster.name" --output text)export CLUSTER_REGION=$(aws eks describe-cluster --name ${CLUSTER_NAME} --query "cluster.arn" --output text | cut -d: -f4)export CLUSTER_VPC=$(aws eks describe-cluster --name ${CLUSTER_NAME} --region ${CLUSTER_REGION} --query "cluster.resourcesVpcConfig.vpcId" --output text)export ACCOUNT_ID=$(aws eks describe-cluster --name ${CLUSTER_NAME} --region ${CLUSTER_REGION} --query "cluster.arn" --output text | cut -d':' -f5)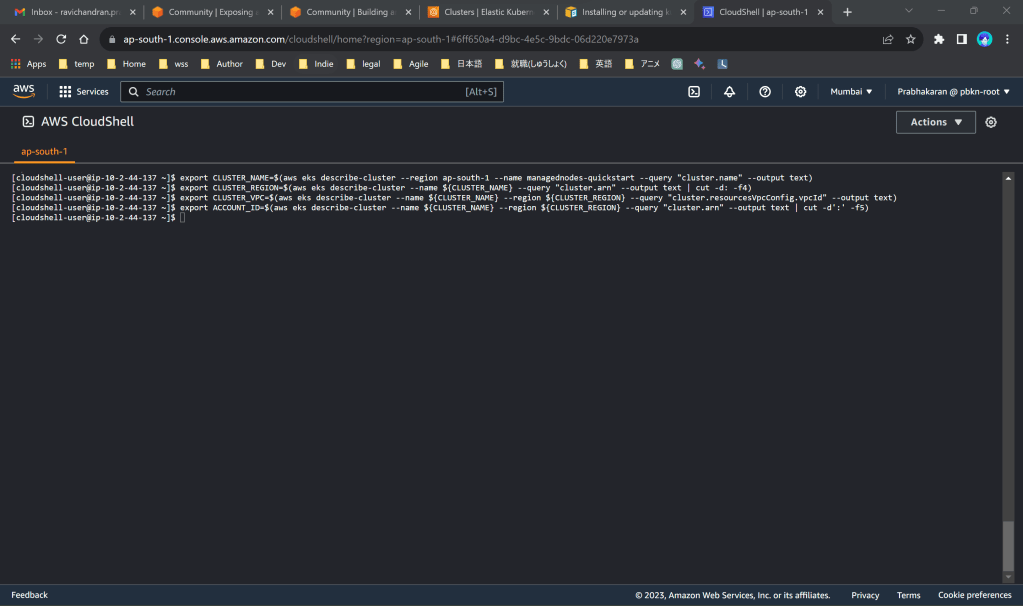
Step 10
Create and attach IAM policy for your load balancer using below commands
curl -O https://raw.githubusercontent.com/kubernetes-sigs/aws-load-balancer-controller/v2.5.4/docs/install/iam_policy.jsonaws iam create-policy --policy-name AWSLoadBalancerControllerIAMPolicy --policy-document file://iam_policy.jsoneksctl create iamserviceaccount --cluster=${CLUSTER_NAME} --namespace=kube-system --name=aws-load-balancer-controller --role-name AmazonEKSLoadBalancerControllerRole --attach-policy-arn=arn:aws:iam::${ACCOUNT_ID}:policy/AWSLoadBalancerControllerIAMPolicy --approvekubectl get sa aws-load-balancer-controller -n kube-system -o yaml
Step 11
Install load balancer using below commands
helm repo add eks https://aws.github.io/eks-chartshelm repo update ekshelm install aws-load-balancer-controller eks/aws-load-balancer-controller --namespace kube-system --set clusterName=${CLUSTER_NAME} --set serviceAccount.create=false --set region=${CLUSTER_REGION} --set vpcId=${CLUSTER_VPC} --set serviceAccount.name=aws-load-balancer-controller
Step 12
Deploy sample application using below commands
kubectl create namespace game-2048 --save-configkubectl apply -n game-2048 -f https://raw.githubusercontent.com/kubernetes-sigs/aws-load-balancer-controller/v2.6.0/docs/examples/2048/2048_full.yaml
Step 13
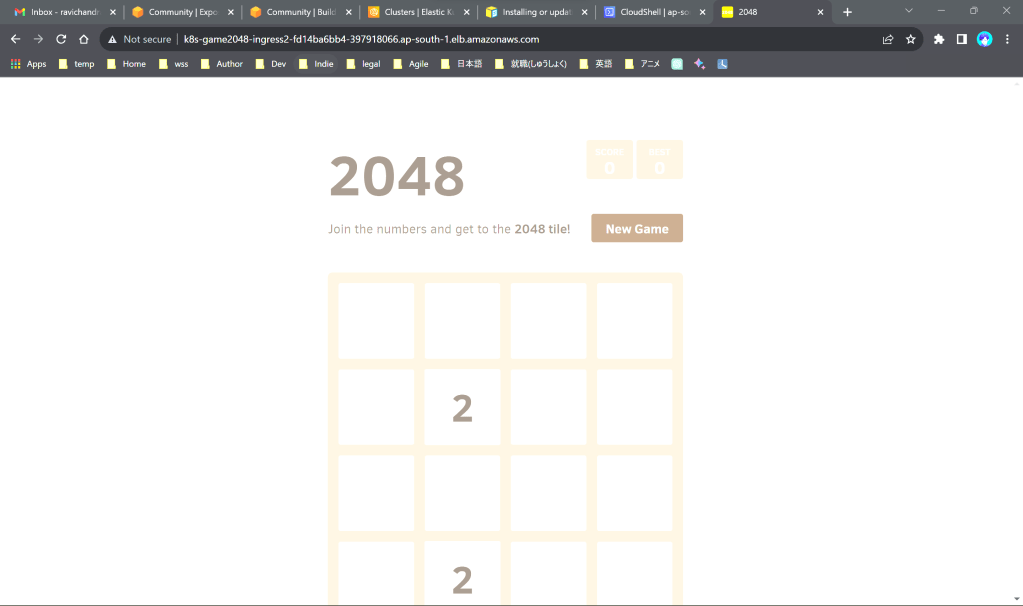
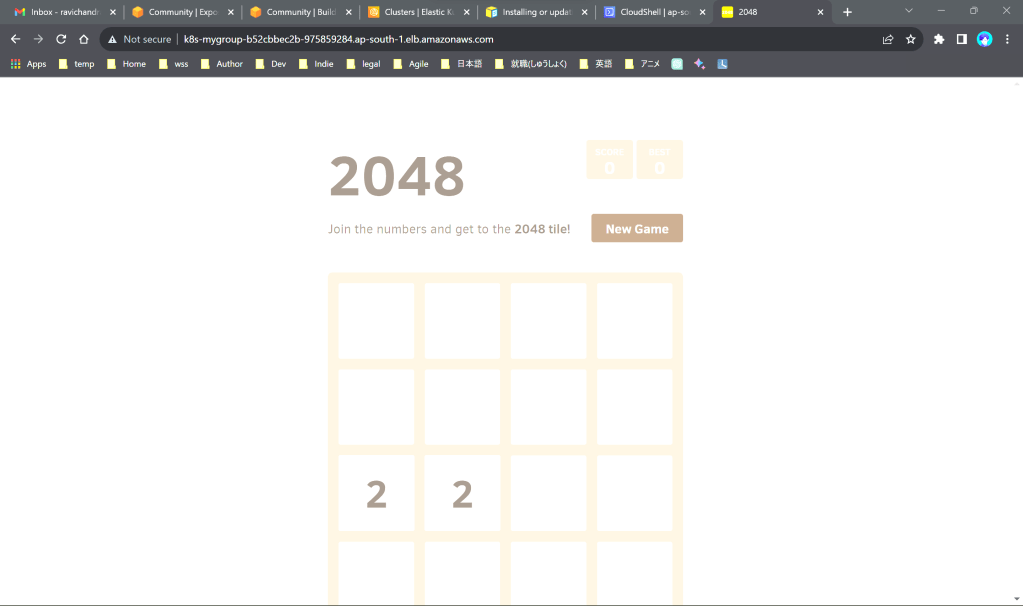
Access the sample application
kubectl get ingress -n game-2048
Copy the url and access the game on your browser
Step 14
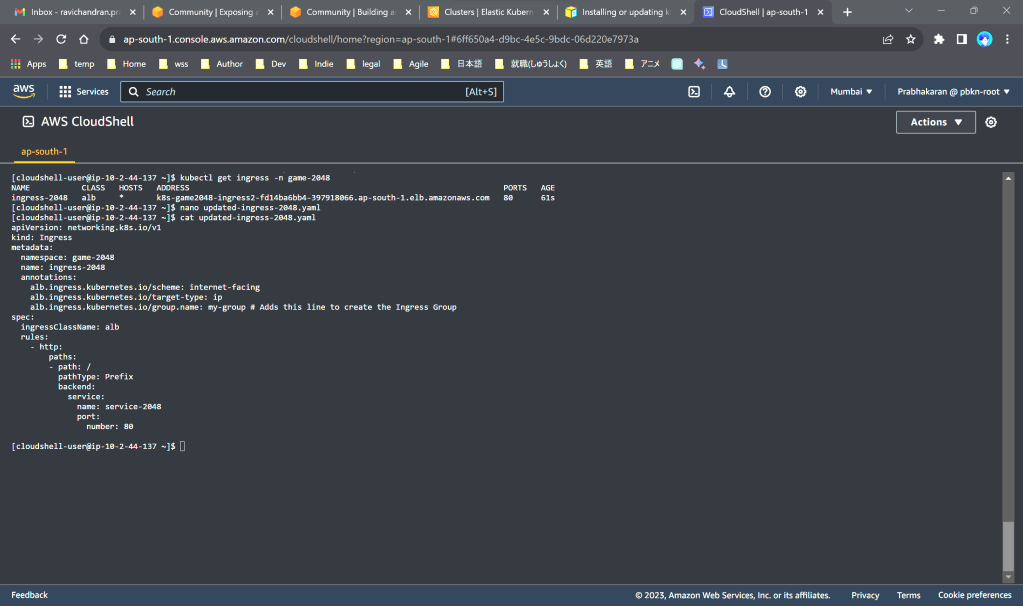
Create Ingress Group
Open the link https://community.aws/tutorials/navigating-amazon-eks/eks-cluster-load-balancer-ipv4#step-6-create-an-ingress-group
Copy the contents of updated-ingress-2048.yaml and create the file as you did in Step 3
Step 15
Apply load balancing using below commands
kubectl apply -f updated-ingress-2048.yamlkubectl get ingress -n game-2048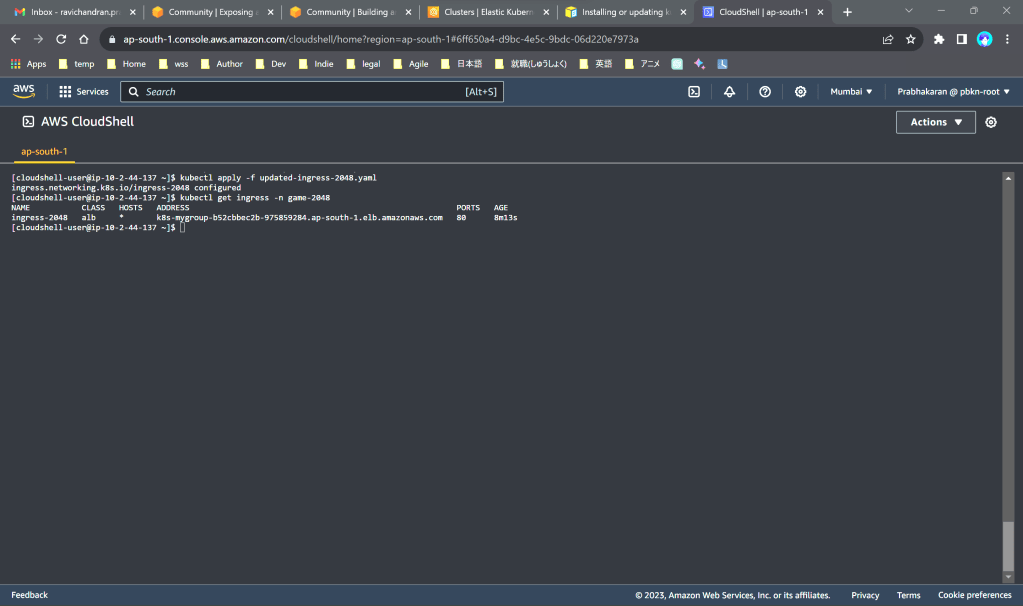
Access the load balanced application using the url displayed above
Add.
Additionally, you can verify the resources created in Load balancer, Security Group, Instances, Target Groups, etc.., on their respective console web pages.
Clean Up
Delete all cloud formation stacks starting with the name “eksctl-managednodes”
Then make a thorough double-check in the console pages to mitigate recurring cost on POC
Reference
https://community.aws/tutorials/navigating-amazon-eks/eks-cluster-high-traffic
https://community.aws/tutorials/navigating-amazon-eks/eks-cluster-load-balancer-ipv4

Leave a comment